The source code for this post can be found on this github repo
Introduction
Ktor is a brand new micro-framework created by the Jetbrains team, and running over the JVM. Jetbrains are the authors of Kotlin - which is now the official programming language for Android, and one of the most popular programming language on the JVM. Kotlin is gaining popularity on server-side and multi-platform application development.
Ktor is a framework for building asynchronous servers and clients in connected systems using the powerful Kotlin programming language.
In this article, you will learn:
- How to design a simple URL shortener.
- How to use the Ktor micro-framework with Kotlin
- How to deploy a Ktor application
I have +4 years of experience using Spring, and I wanted to give a try to Ktor, which seems promising. Creating a URL shortener is an excellent way to start.
What is a URL shortener?
A URL shortener is a simple tool that takes a long URL and turns it into a very short one

It is commonly used for 3 reasons:
- Tracking clicks
- Make URL much more concise.
- Hide original URL
One famous freemium provider is bit.ly (see here)
In this article we will make a basic bit.ly like URL shortener. Let’s go
Ktor principles
Before starting I want to introduce the 3 main principles of Ktor.
Kotlin
Kotlin is the language used to develop on Ktor. It is an object-oriented and functional language. It is very stable and runs on the JVM. Kotlin is 100% interoperable with Java and allows you to benefit from its ecosystem (libraries, build system, etc.).
Functional programming
Ktor leverages the power of Kotlin and has a very functional approach. When writing code, everything seems obvious. It's very similar to what you can see on NodeJS. For me, coming from the Spring world, I find it very efficient to read and use.
Asynchronous
Kotlin provides asynchronous code execution, thanks to coroutines. Ktor exploits this feature to its full potential, and even if you have the impression that you are writing code in a blocking manner, this is not the case. Ktor makes your life easier.
HTTP Server
Here is a complete and simple example of how to expose an HTTP server (http://localhost:8080) with Ktor.
fun main(args: Array<String>): Unit = io.ktor.server.netty.EngineMain.main(args)@kotlin.jvm.JvmOverloadsfun Application.module(testing: Boolean = false) {routing {get("/") {call.respondText("Hello World", contentType = ContentType.Text.Plain)}}}
URL Encoder
The URL encoder will translate an incoming address into a smaller URL. The idea is to provide an ID that will identify the final URL. Using a hash function is perfect for this operation. However, the operation is non-reversible, meaning you can’t retrieve the final URL by the generated identifier.
Function to transform a long URL into a shorter URL
// String extensionfun String.encodeToID(): String {// hash String with MD5val hashBytes = MessageDigest.getInstance("MD5").digest(this.toByteArray(Charsets.UTF_8))// transform to human readable MD5 Stringval hashString = String.format("%032x", BigInteger(1, hashBytes))// truncate MD5 Stringval truncatedHashString = hashString.take(6)// return idreturn truncatedHashString}
We expose the function through the REST API
// Request objectdata class Request(val url: String) {fun toResponse(): Response = Response(url, url.encodeToID())}// Response objectdata class Response(val originalURL: String, private val id: String) {val shortURL: String = "http://localhost:8080/$id"}@kotlin.jvm.JvmOverloadsfun Application.module(testing: Boolean = false) {install(ContentNegotiation) {jackson {enable(SerializationFeature.INDENT_OUTPUT)propertyNamingStrategy = PropertyNamingStrategy.SNAKE_CASE}}// Hash Table Response object by IDval responseByID = mutableMapOf<String, Response>()routing {post("/api/v1/encode") {// Deserialize JSON body to Request objectval request = call.receive<Request>()// find the Response object if it already existsval retrievedResponse = responseByID[request.url.encodeToID()]if (retrievedResponse != null) {// cache hitlog.debug("cache hit $retrievedResponse")return@post call.respond(retrievedResponse)}// cache missval response = request.toResponse()responseByID[request.url.encodeToID()] = responselog.debug("cache miss $response")// Serialize Response object to JSON bodycall.respond(response)}}}
Handle identifier collision
Using a hash function makes no guarantee that it is not already being used. If it is in use, then you need to change it to another one. Note: even if the probability to have a collision is very low, you should handle this case.
// String extension (function signature has changed)fun String.encodeToID(truncateLength: Int = 6): String {// hash String with MD5val hashBytes = MessageDigest.getInstance("MD5").digest(this.toByteArray(Charsets.UTF_8))// transform to human readable MD5 Stringval hashString = String.format("%032x", BigInteger(1, hashBytes))// truncate MD5 Stringval truncatedHashString = hashString.take(truncateLength)// return idreturn truncatedHashString}//...@kotlin.jvm.JvmOverloadsfun Application.module(testing: Boolean = false) {// ...// Hash Table Response object by idval responseByID = mutableMapOf<String, Response>()fun getIdentifier(url: String, truncateLength: Int = 6): String {val id = url.encodeToID()val retrievedResponse = responseByID[id]if (retrievedResponse?.originalURL != url) {// collision spotted !return getIdentifier(url, truncateLength + 1)}return id}routing {post("/api/v1/encode") {// Deserialize JSON body to Request objectval request = call.receive<Request>()// find the Response object if it already existsval id = getID(request.url)val retrievedResponse = responseByID[id]if (retrievedResponse != null) {// cache hitlog.debug("cache hit $retrievedResponse")return@post call.respond(retrievedResponse)}// cache missval response = request.toResponse()responseByID[id] = responselog.debug("cache miss $response")// Serialize Response object to JSON bodycall.respond(response)}}}
URL Decoder
Decoding the URL is the process of returning the original URL from the short URL. This is the reverse operation made by the URL Encoder
val shortURL = getShortURL(request.url)val retrievedResponse = responseByID[shortURL]retrievedResponse?.originalURL // return original URL or null
Redirect
When a user clicks on a short URL, the user is redirected to the final URL. HTTP protocol allows to do this naturally by returning a 302 status code and a redirection URL.
With Ktor the redirection is as simple as calling a method with the final URL as a parameter.
call.respondRedirect("https://www.qovery.com")
What we expect is that when the user visits http://localhost:8080/fbc951 he is redirected to https://www.qovery.com. If the URL is incorrect then redirect to https://www.google.com
@kotlin.jvm.JvmOverloadsfun Application.module(testing: Boolean = false) {// ...routing {get("/{id}") {val id = call.parameters["id"]val retrievedResponse = id?.let { responseByID[it] }if (id.isNullOrBlank() || retrievedResponse == null) {return@get call.respondRedirect("https://www.google.com")}log.debug("redirect to: $retrievedResponse")call.respondRedirect(retrievedResponse.originalURL)}// ...}}
Stats: clicks over time
Something that is really useful on products like bit.ly is the stats provided (click over time, referrers, country of visitors). Here is how to store click over time and make them available through the API
// addeddata class Stat(val clicksOverTime: MutableList<Date> = mutableListOf())// Response object (modified with Stat)data class Response(val originalURL: String, private val id: String, val stat: Stat = Stat()) {val shortURL: String = "http://localhost:8080/$id"}@kotlin.jvm.JvmOverloadsfun Application.module(testing: Boolean = false) {install(ContentNegotiation) {jackson {// ...// add this line to return Date object as ISO8601 formatdisable(SerializationFeature.WRITE_DATES_AS_TIMESTAMPS)}}// ...routing {// ...get("/api/v1/url/{id}/stat") {val id = call.parameters["id"]val retrievedResponse = id?.let { responseByID[it] }if (id.isNullOrBlank() || retrievedResponse == null) {return@get call.respond(HttpStatusCode.NoContent)}call.respond(retrievedResponse.stat)}// ...}}
Try the API
Run the application
$ ./gradlew run//...2020-03-12 09:28:08.150 [main] INFO Application - No ktor.deployment.watch patterns specified, automatic reload is not active2020-03-12 09:28:08.606 [main] INFO Application - Responding at http://0.0.0.0:8080
Then execute the commands
# generate a short URL$ curl -X POST -d '{"url": "https://www.qovery.com"}' -H "Content-type: application/json" "http://localhost:8080/api/v1/encode"{"original_url": "https://www.qovery.com","stat": {"clicks_over_time": []},"short_url": "http://localhost:8080/fbc951"}# generate 4 fake clicks$ curl -X GET 'http://localhost:8080/fbc951'$ curl -X GET 'http://localhost:8080/fbc951'$ curl -X GET 'http://localhost:8080/fbc951'$ curl -X GET 'http://localhost:8080/fbc951'# show stat$ curl -X GET 'http://localhost:8080/api/v1/url/fbc951/stat'{"clicks_over_time": ["2020-03-11T21:10:52.354+0000","2020-03-11T21:10:54.093+0000","2020-03-11T21:12:34.987+0000","2020-03-11T21:12:37.223+0000"]}
Connect to a PostgreSQL database with Exposed
By storing the data in memory, we lose all the data every time the application restart. Which is problematic for running in production. To make the data persistent we will store it in a PostgreSQL database. We will have to add 1 new dependency - Exposed. Exposed (with Hikari Connection Pool) is a lightweight SQL library on top of JDBC driver for Kotlin. With exposed it is possible to access databases in two flavours: typesafe SQL wrapping DSL and lightweight Data Access Objects (DAO).
Add the dependencies to your build.gradle (or POM.xml)
repositories {jcenter()}dependencies {// Connection Pool and PostgreSQL driverimplementation("com.zaxxer:HikariCP:3.4.2")implementation("org.postgresql:postgresql:42.2.11")// Exposedimplementation("org.jetbrains.exposed:exposed-core:0.22.1")implementation("org.jetbrains.exposed:exposed-dao:0.22.1")implementation("org.jetbrains.exposed:exposed-jdbc:0.22.1")implementation("org.jetbrains.exposed:exposed-java-time:0.22.1")}
We need to have 2 distincts tables, one containing all the final URLs with their correspond identifier
object ResponseTable : Table("response") {val id = varchar("id", 32)val originalURL = varchar("original_url", 2048)override val primaryKey: PrimaryKey = PrimaryKey(id)}
And a second one with all the clicking points
object ClickOverTimeTable : Table("click_over_time") {val id = integer("id").autoIncrement()val clickDate = datetime("click_date")val response = reference("response_id", onDelete = ReferenceOption.CASCADE, refColumn = ResponseTable.id)override val primaryKey: PrimaryKey = PrimaryKey(id)}
We need to create the tables as defined above programmatically
fun initDatabase() {val config = HikariConfig().apply {jdbcUrl = "jdbc:postgresql://127.0.0.1:5432/exposed"username = "exposed"password = "exposed"driverClassName = "org.postgresql.Driver"}Database.connect(HikariDataSource(config))transaction {// create tables if they do not existSchemaUtils.createMissingTablesAndColumns(RequestTable, ClickOverTimeTable)}}@kotlin.jvm.JvmOverloadsfun Application.module(testing: Boolean = false) {initDatabase()// ...}
We have to replace the Hash Table used to store the data by the PostgreSQL database (see the final code here)
Deploy in the Cloud with Qovery
Qovery is going to help us to deploy the final application in the Cloud without the need to configure the CI/CD, network, security, load balancing, database and all the DevOps tasks
Qovery is a deployment platform that helps all developers to deploy their applications in the Cloud in just a few seconds
Before you begin, this tutorial assumes the following:
- Your code need to be hosted on Github/Gitlab/Bitbucket
- Package your Ktor application to build and run it on Docker
- Web
- CLI
Sign in to the Qovery web interface.
Create an application
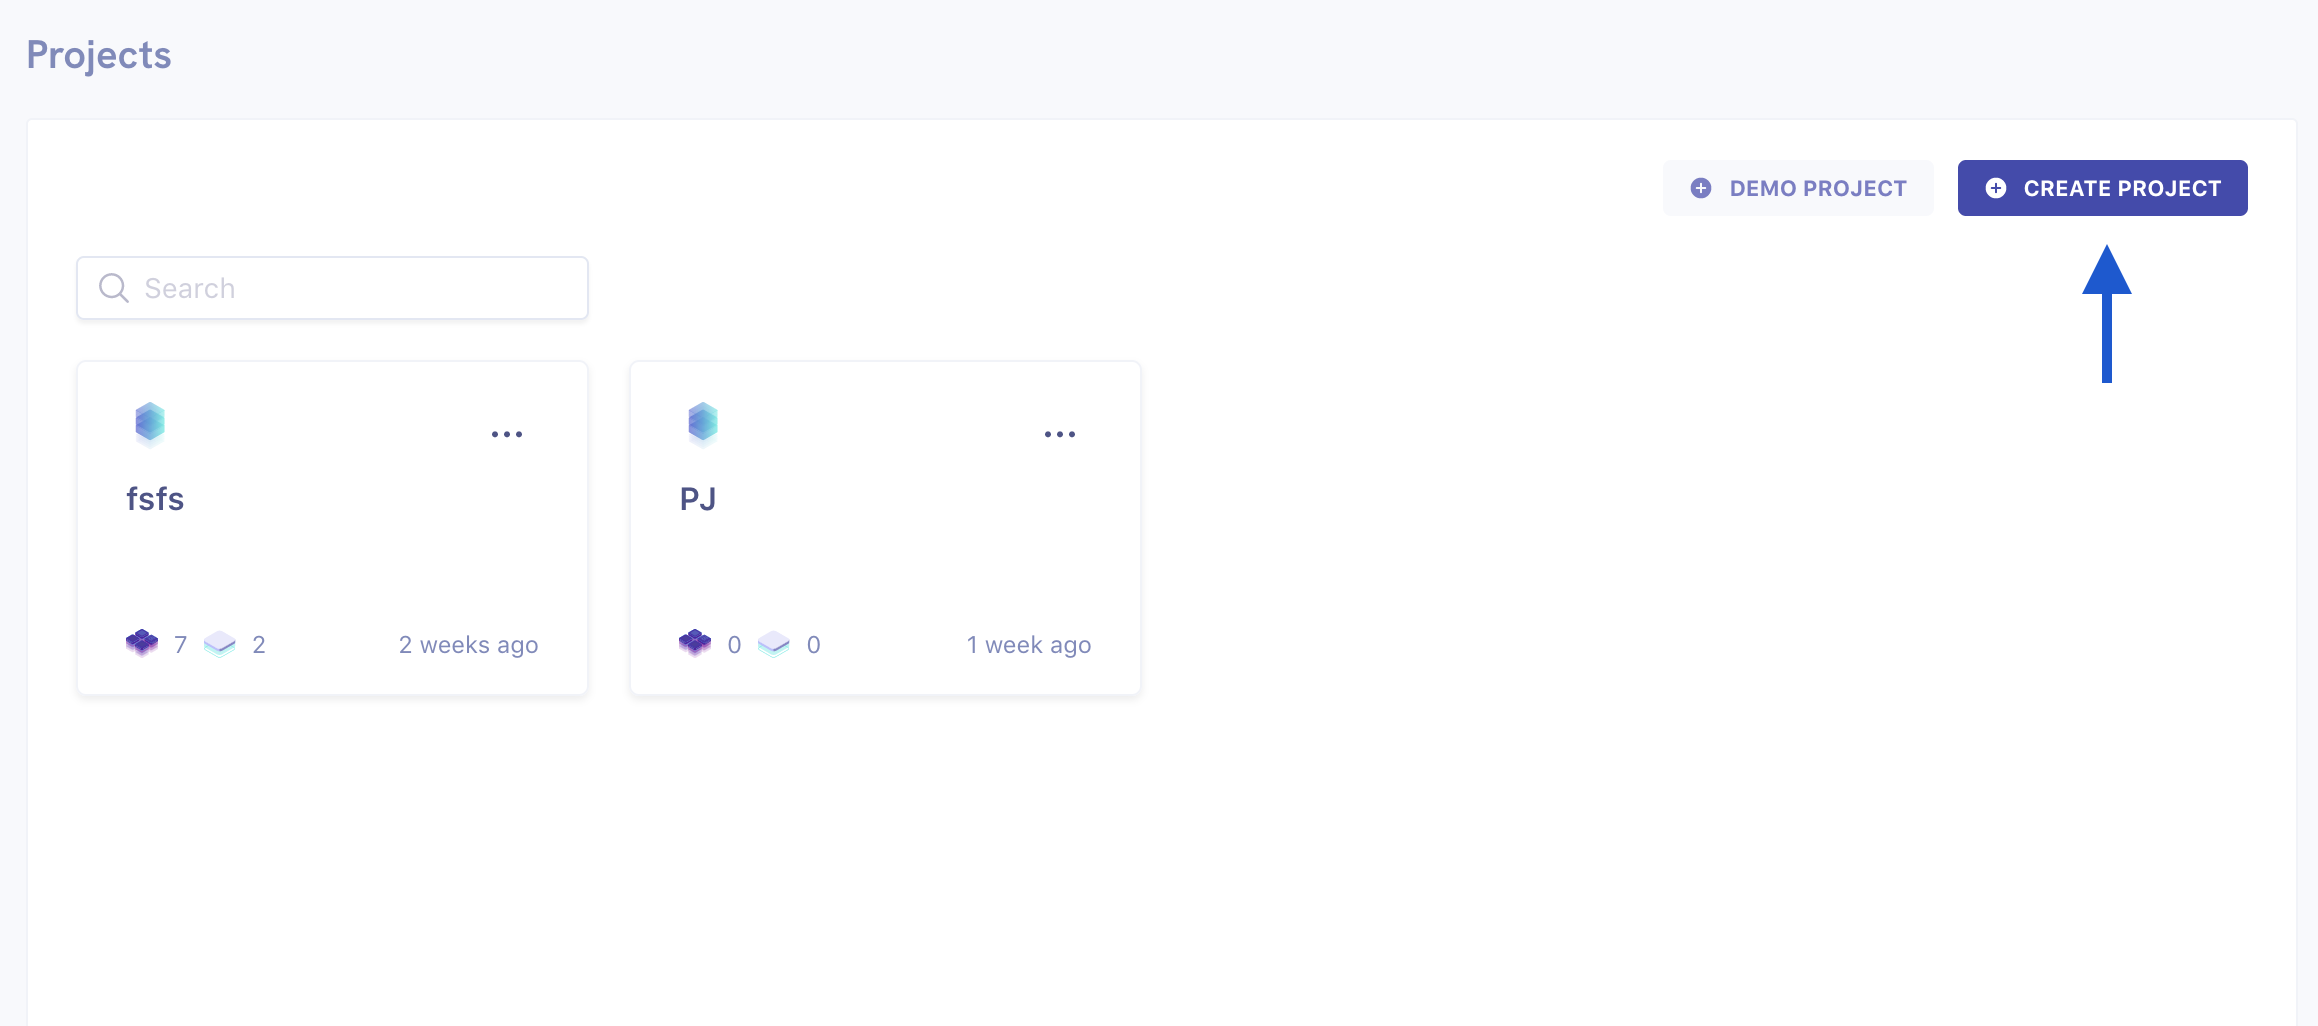
Create a new project
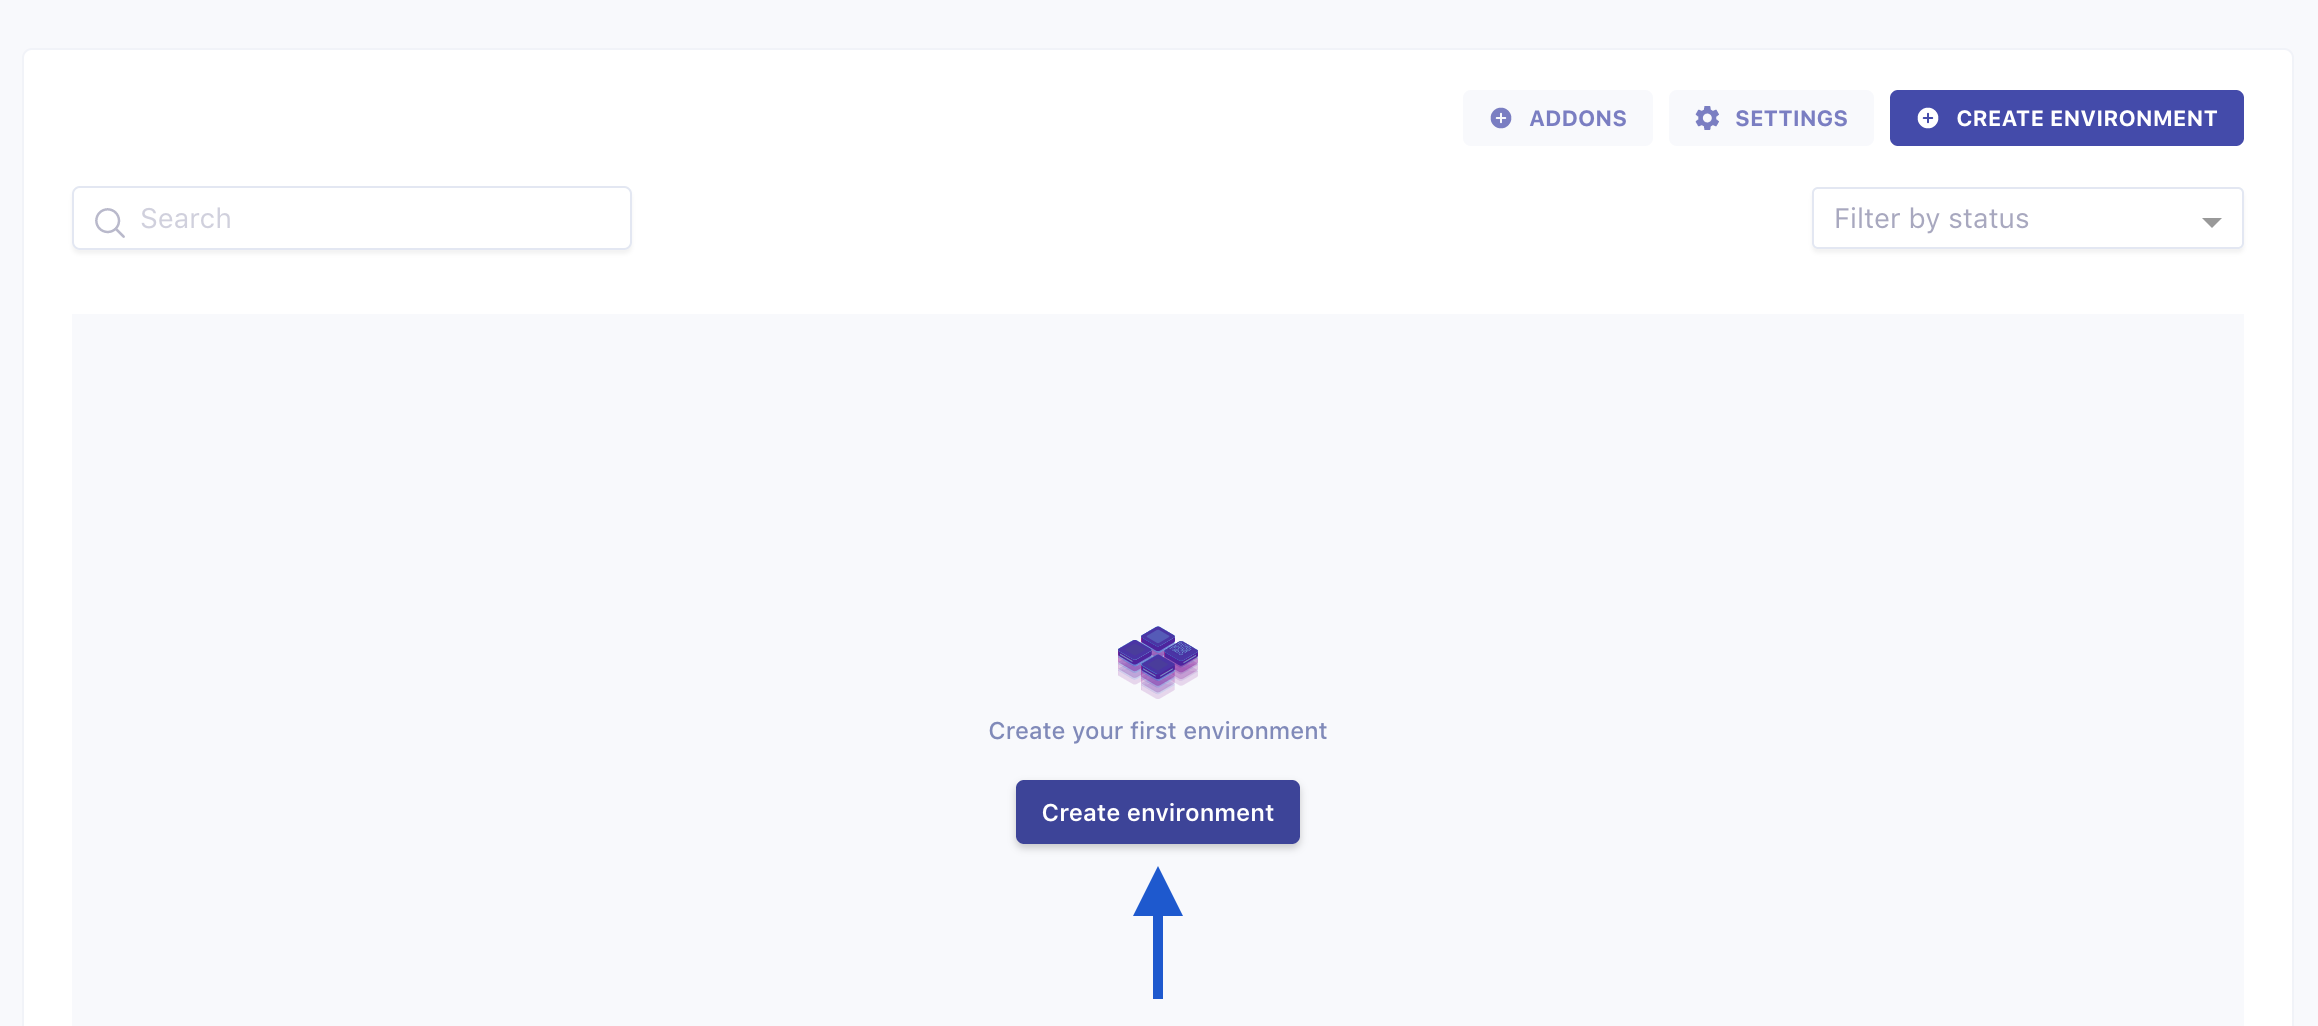
Create a new environment
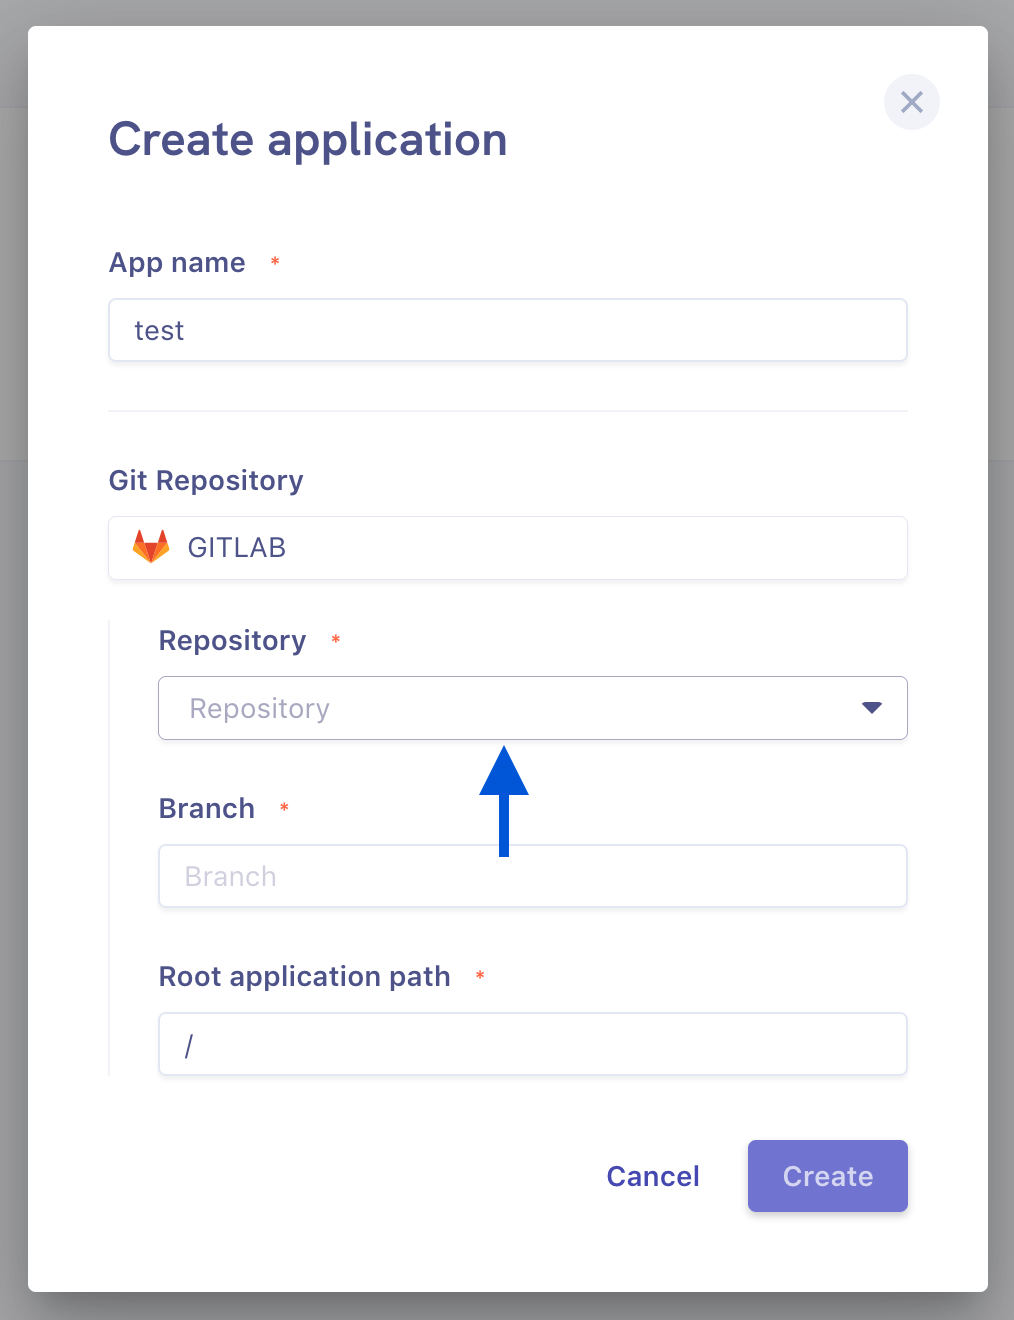
Create a new application
To follow the guide, you can fork and use our repository
Use the forked repository (and branch master) while creating the application in the repository field:
After the application is created:
- Navigate application settings
- Select Port
- Add port 8080
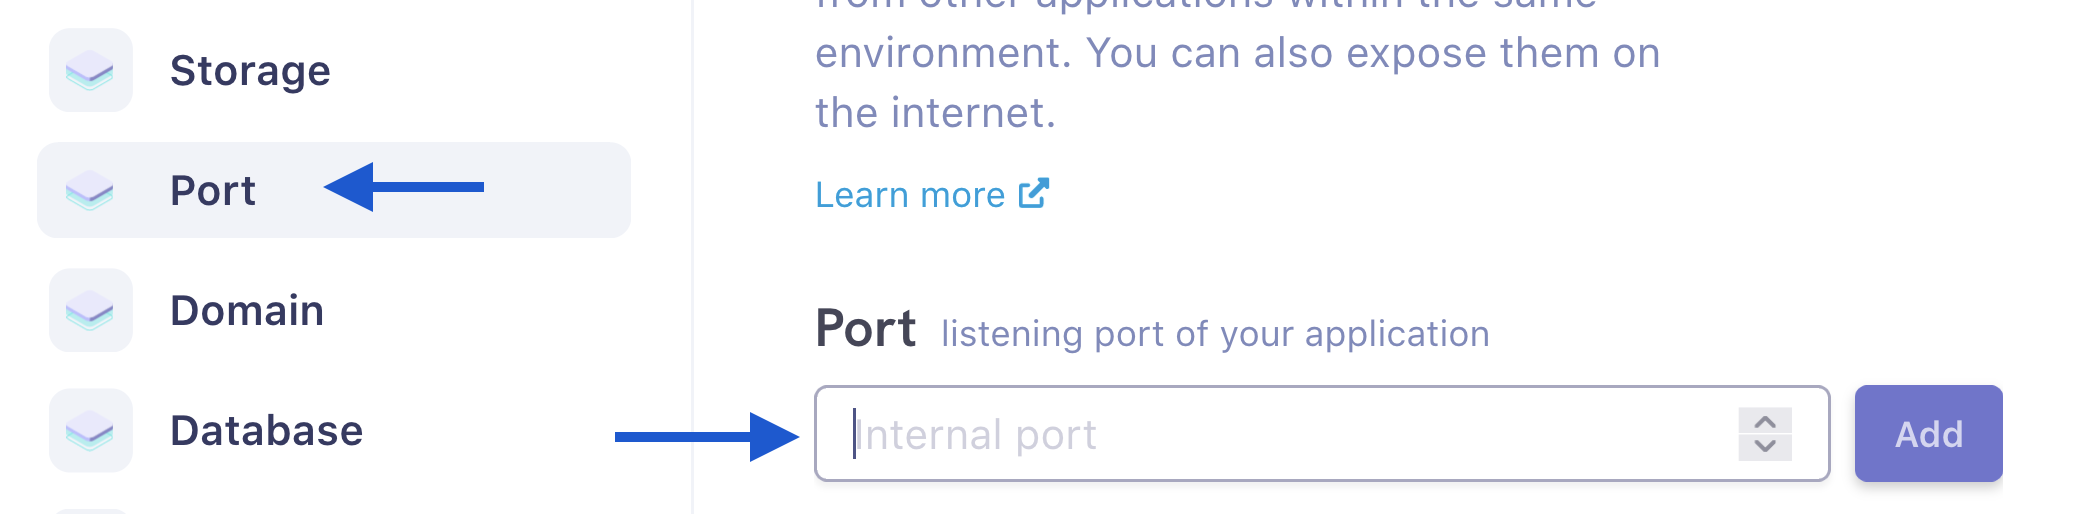
This will expose your application and make accessible in the public internet.
Deploy a database
Create and deploy a new database.
To learn how to do it, you can follow this guide.
Connect to PostgreSQL
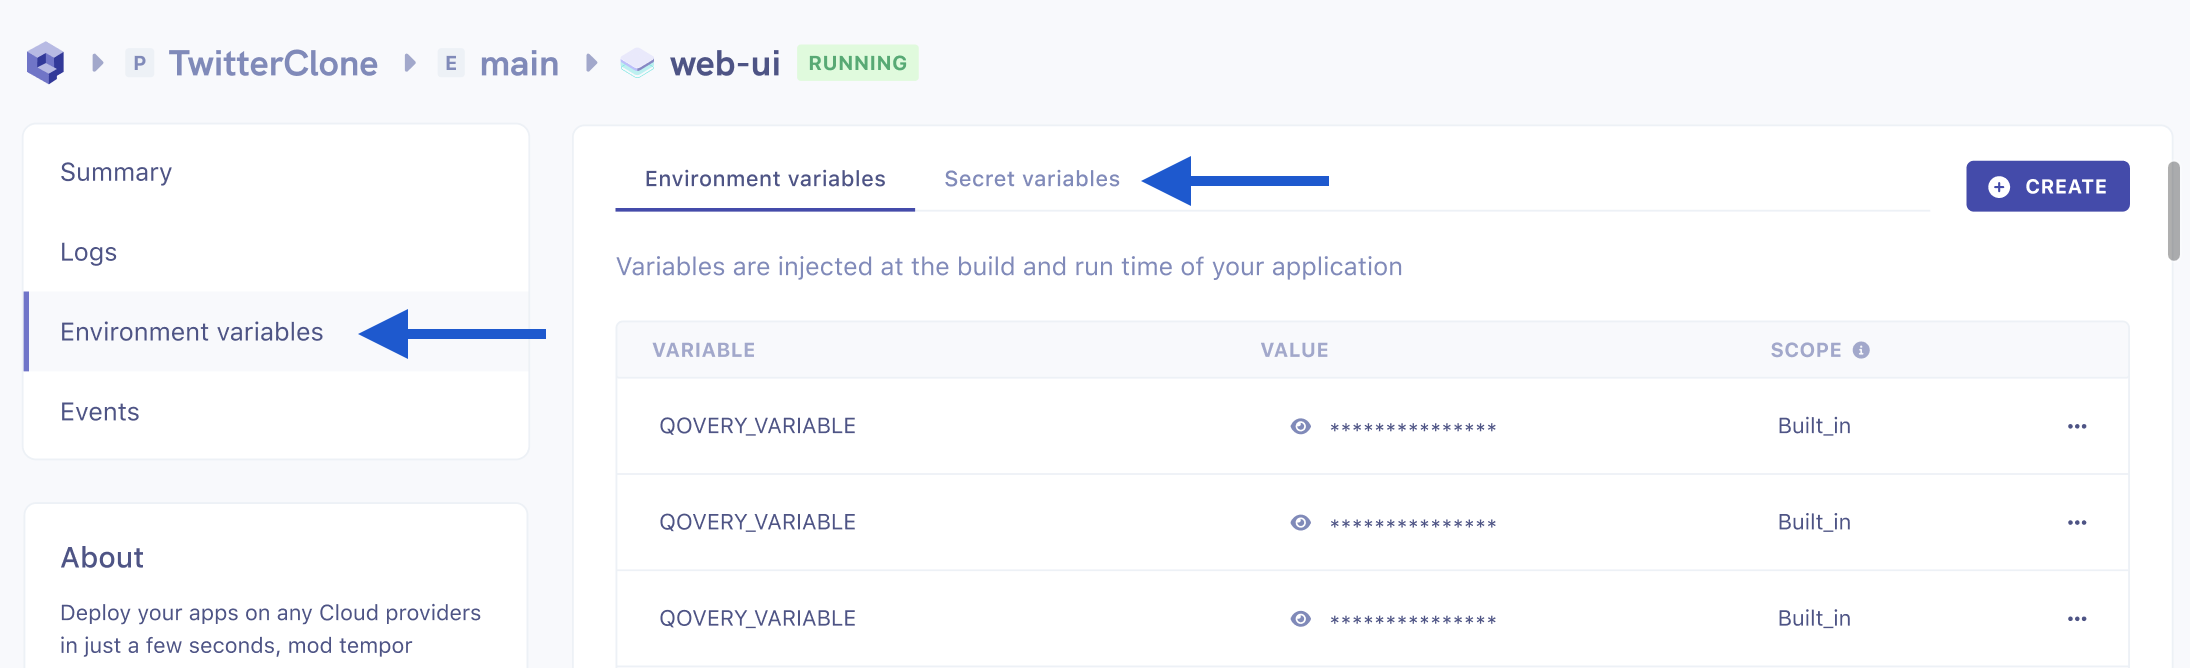
Qovery add dynamically all required environment variables to connect to the database at the runtime of the container.
You can list them all in Environment Variables Secrets section in your application overview, as described in envs guide.
To use them:
fun initDatabase() {val config = HikariConfig().apply {jdbcUrl = "jdbc:${System.getenv("QOVERY_DATABASE_MY_PQL_DB_CONNECTION_URI_WITHOUT_CREDENTIALS")}"username = System.getenv("QOVERY_DATABASE_MY_PQL_DB_USERNAME")password = System.getenv("QOVERY_DATABASE_MY_PQL_DB_PASSWORD")driverClassName = "org.postgresql.Driver"}Database.connect(HikariDataSource(config))transaction {// create tables if they do not existSchemaUtils.createMissingTablesAndColumns(RequestTable, ClickOverTimeTable)}}
Deploy
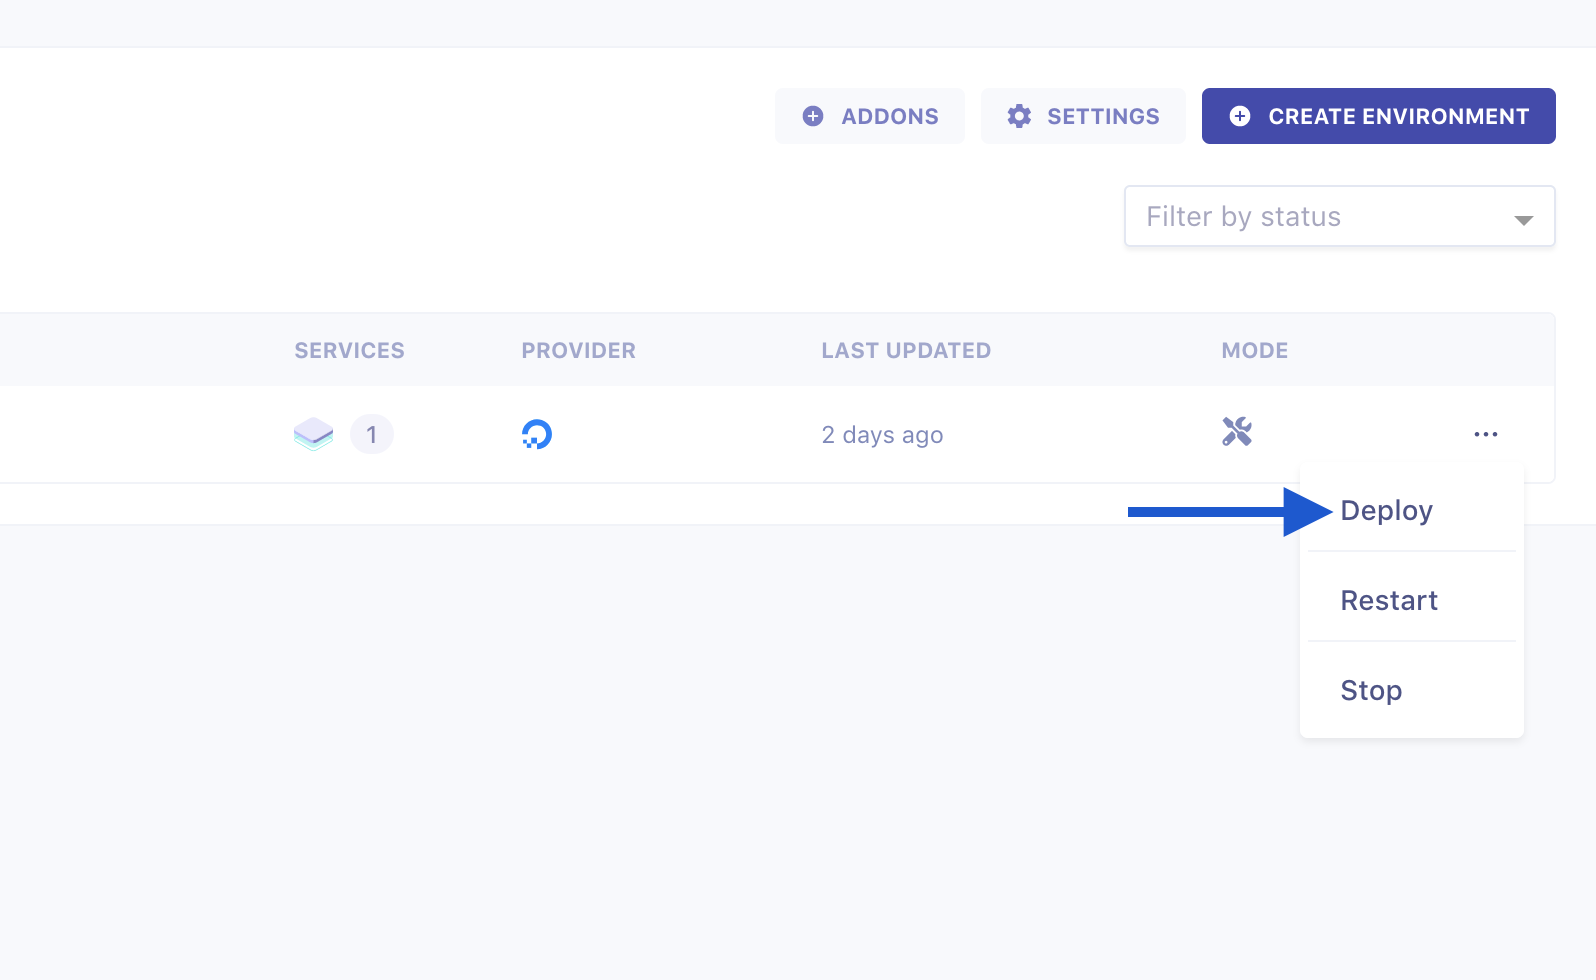
To deploy your application and database, click Action and Deploy button in your environments list view:
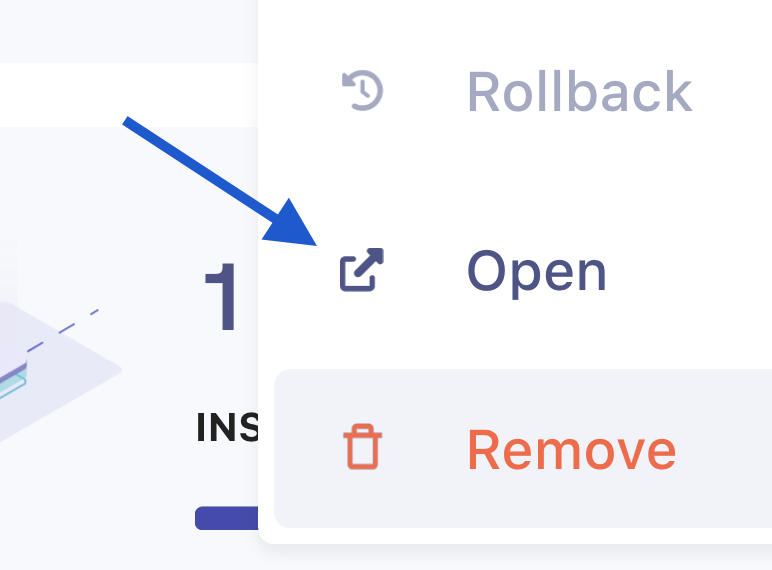
To get public URL to the application, open application details and click on Action Open.
Conclusion
We have seen that creating an URL shortener API with Ktor and Kotlin is extremely simple. Connecting the application to PostgreSQL is very easy with the Exposed library. In just a few lines of code, the service is fully functional and can be deployed in production very quickly with the help of Qovery. In the next part, we will see how to create a web interface connecting to this API to convert our URLs without using the curl command.
Part 2: bind a web interface to the API - [link coming soon]